Spray Foam Overspray on Your Car: What to Do First
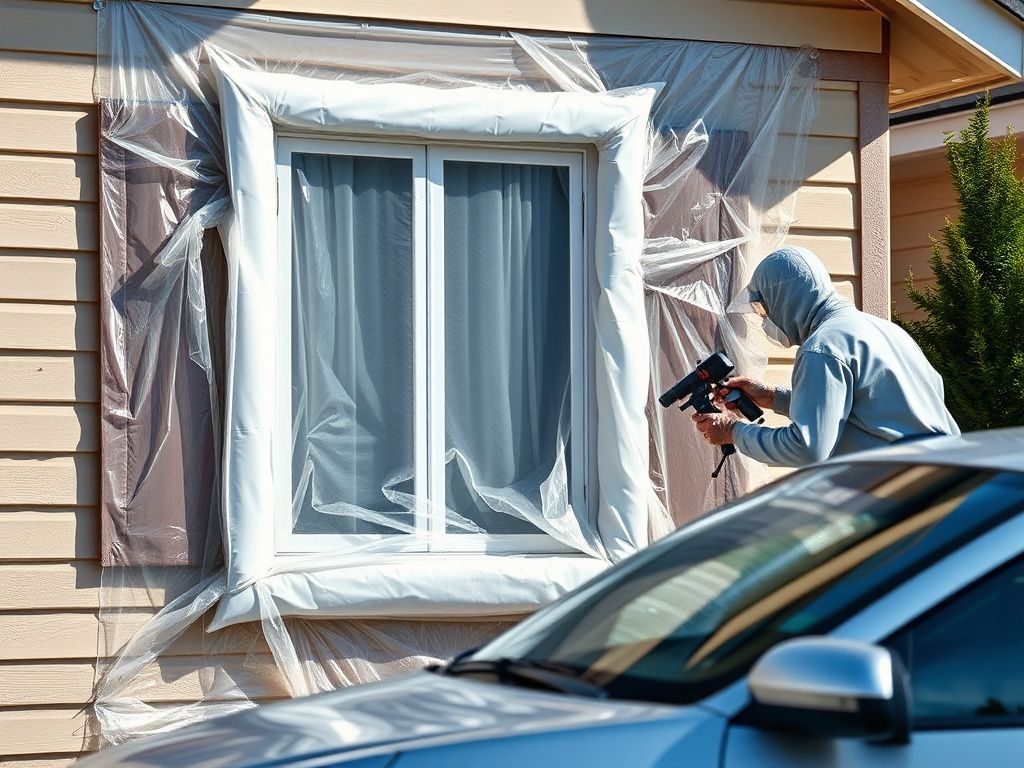
A neighbor's roofer or an attic insulation crew sprayed nearby, and now your hood, windshield, and roof are covered in small, hardened foam droplets. Here's how to handle it correctly.
First, Don't Panic — and Don't Grab the Nearest Sharp Tool
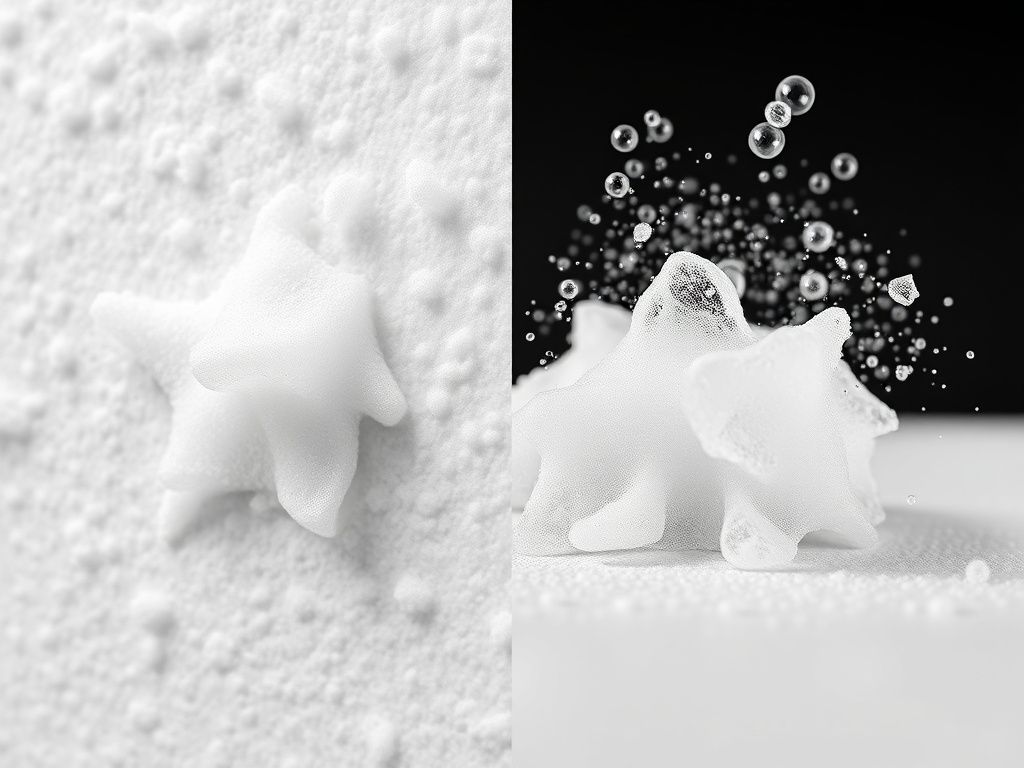
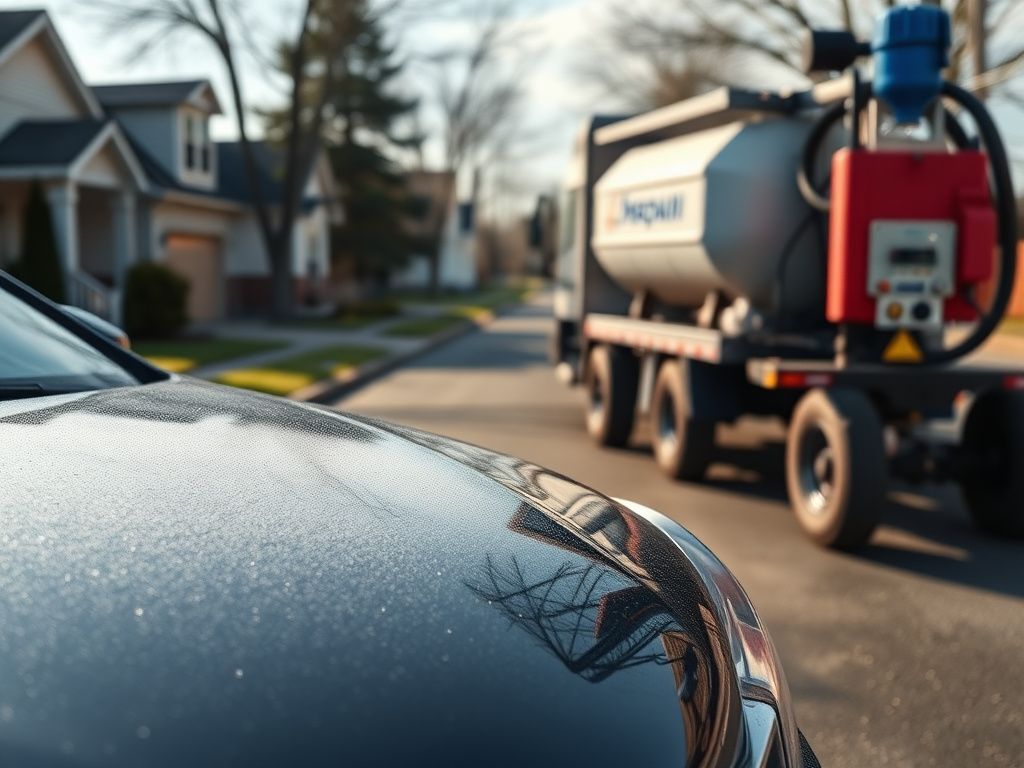
If you've just discovered your car covered in small white or tan foam droplets, the instinct is to start picking or scraping at it immediately with whatever's on hand — a fingernail, a car key, a kitchen knife. Stop there. The foam itself almost never permanently damages a vehicle's finish. What does cause lasting damage is an improvised removal attempt with the wrong tool, and that's a much more common outcome than people expect.
Take a breath, take a few photos of the vehicle from multiple angles (useful both for your own records and if the overspray came from a contractor working nearby), and read through the rest of this before you touch a panel.
Step 1: Figure Out Where It Came From
Spray polyurethane foam (SPF) overspray happens when liquid foam gets carried by wind during an application and lands somewhere it wasn't meant to — commonly a roofing job, attic insulation install, or exterior foam application happening at your house or a neighbor's. If you know which job caused it, that contractor should generally be responsible for professional detailing costs to correct it. It's worth reaching out to them directly, ideally with photos and the date/time you noticed it, before you spend money or time on removal yourself.
If the source is unclear, or you're handling removal regardless, the guidance below still applies the same way.
Step 2: Assess How Much You're Dealing With
How you handle this depends a lot on scope. A handful of small droplets on the hood, caught within a day or two, is a genuinely reasonable DIY project for someone comfortable working carefully. Heavy coverage across multiple panels, foam on or near the windshield, or overspray that's been sitting for a week or more in full sun — meaning it's had plenty of time to fully cure and bond — is where we'd point you toward a professional rather than a first-time DIY attempt.
Our full breakdown of automotive overspray removal covers the complete safe process in detail, including exactly which tools and methods professionals use and which common DIY methods most often cause clear coat damage. Worth reading in full before you start, even if you're planning to attempt it yourself.
- Light, fresh, single-panel: reasonable DIY candidate
- Heavy, multi-panel, near the windshield, or several days old: professional removal is the safer call
Step 3: If You're DIYing It — The Short Version
Wash the car first to clear loose dirt and grit before touching the overspray itself — this single step prevents most of the scratching that happens during clay bar or scraper use. Work in the shade on a cool panel, never in direct sun on a hot hood. Use a plastic scraper or a detailing clay bar, kept continuously lubricated with water or a dedicated clay lubricant, never dry. Work small sections at a time rather than the whole car at once.
Avoid metal blades on painted panels, and avoid pouring or spraying acetone, lacquer thinner, or similar strong solvents directly onto paint — they can dissolve wax, cloud clear coat, or worse. If you use a commercial overspray remover product, apply it to a microfiber towel first, not directly to the panel. When the foam is off, plan on a machine polish and fresh wax or sealant afterward — clay bar treatment strips existing protection, so the panel needs it reapplied.
- Wash first, work in shade on a cool panel, small sections at a time
- Plastic tools and continuous lubrication — never a dry blade or dry clay
- No acetone or strong solvents applied directly to painted panels
- Machine polish + fresh wax/sealant afterward, since clay bar strips existing protection
Step 4: When to Just Call a Professional
If any of this sounds like more risk than you want to take on with your own vehicle, that's a completely reasonable read of the situation — automotive paint is the one surface where we'd actively encourage calling a professional rather than a confident DIY attempt, because the downside of a mistake (a repaint or professional paint correction) usually costs a lot more than professional overspray removal would have in the first place.
A professional detailer experienced with overspray or contamination removal will typically start with a pre-work inspection documenting any existing chips or scratches, use correctly-graded clay bars matched to how heavy the contamination is, and finish with a polish and protection pass — the complete job, not just the foam removal.
Frequently asked questions
No — it's not urgent in a way that requires dropping everything, but it's also not something to ignore indefinitely. Overspray is easier and lower-risk to remove while it's fresh, so handling it within a few days rather than a few weeks is worth aiming for.
If you know which job caused it, that's a fair conversation to have with the responsible contractor — professional detailing costs to correct overspray damage are typically something a responsible crew covers. Document it with photos and reach out directly.
Reaching for a metal blade or a strong solvent like acetone straight out of the gate. Both can genuinely work to remove the foam, but both are also the most common causes of clear coat damage when used on painted panels without the right technique.
Ready for a free quote?
Tell us about your overspray situation and we'll build a clear quote for professional removal.